The first thing you need to do is to visit RedHat Store and buy your licence.
Once you have your installation CDs you may proceed with the installation.
1. Insert the 1st CD in the CD-ROM unit. Select as the first boot device the CD-ROM (see How To boot from CD).
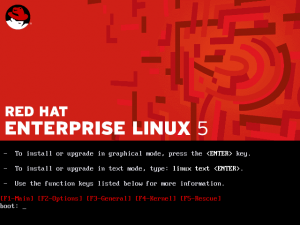
This is the first screen that you will see:
Just press ENTER to install in the Operating System in graphical mode.
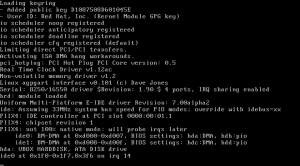
2. The installation will start:
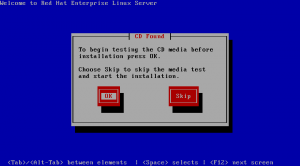
3. The new screen will ask you to check the CD for defects. Select Skip, otherwise you could proceed with the verification process:
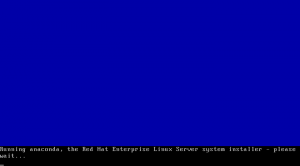
4. The installation will start:
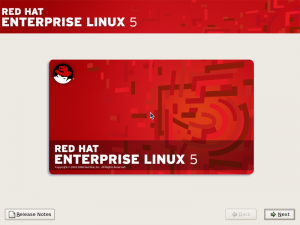
5. The graphical installation wizard comes up:
Press NEXT.
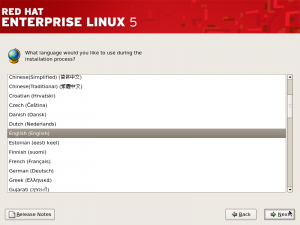
6. Select your language:
Press NEXT.
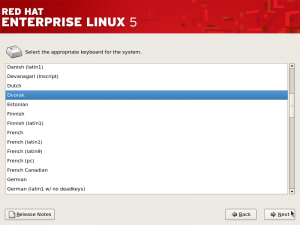
7. Select your keyboard type:
Press NEXT.
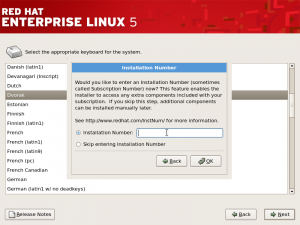
8. It is time to insert your Installation Number that you received from RedHat:
Press OK.
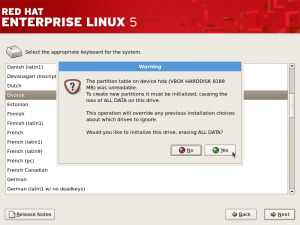
9. Initialize your Hard Drive Disk if it is new:
Select YES.
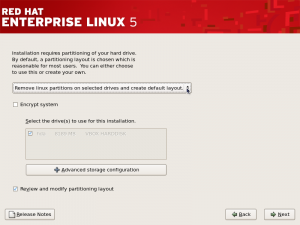
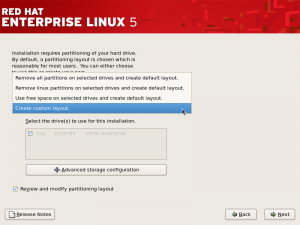
10. Click on the drop down menu and choose the partitioning mode:
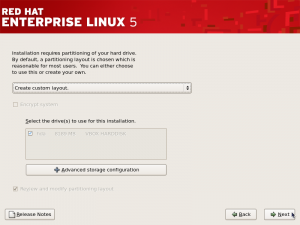
11. Select “Create custom layout”:
12. Press next if you do not want to go to advanced storage configuration:
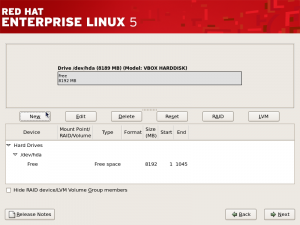
13. The partitioning tool will come up:
Select New.
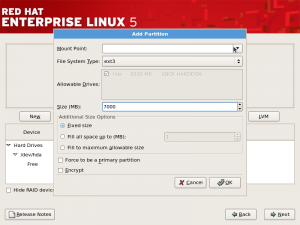
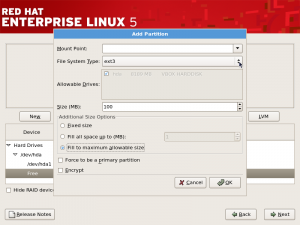
14. Select the File System Type and the Size:
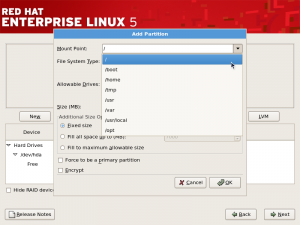
15. Select the Mount Point:
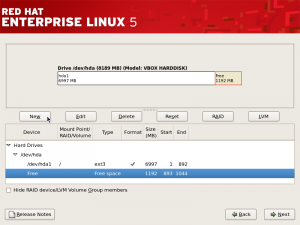
16. We shall also create a swap partition:
Select the free space and then select New again.
17. Choose the partition size:
You should also set it as primary partition.
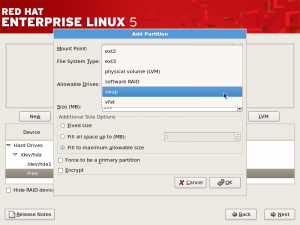
18. Choose “swap” as the File System Type:
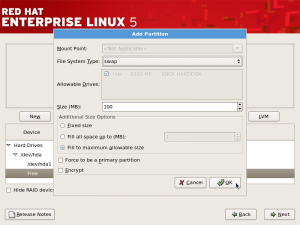
19. You may also select the partition to occupy all the available space:
Select the option “Fill to maximum allowable size and click OK.
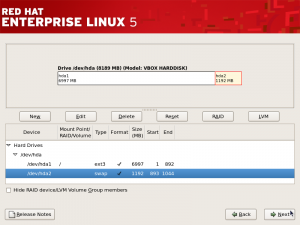
20. Now you can see your partition layout:
Just click Next.
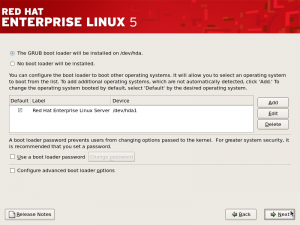
21. Select the location of the boot loader:
Press Next.
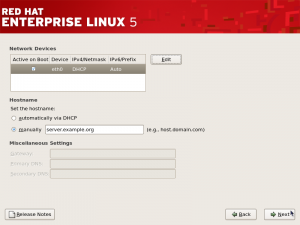
22. Configure your network card and your hostname:
Proceed forward by clicking Next.
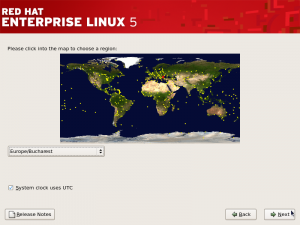
23. Select your location by clicking on the map, or by selecting a region from the drop-down menu:
Select Next.
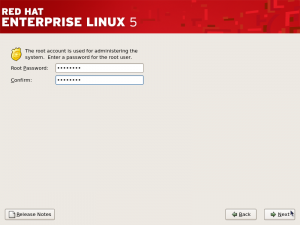
24. Choose your root password carefully:
Select Next.
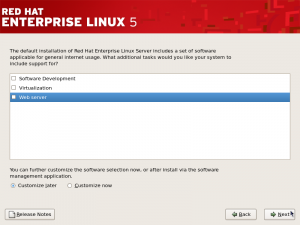
25. If desired, select one of the software packages provided by RedHat:
Press Next.
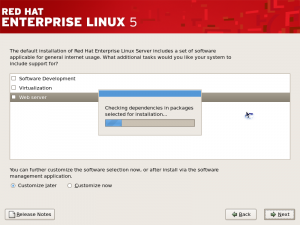
26. Some dependency check will be initiated:
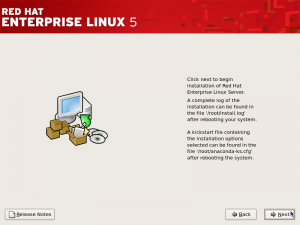
27. The actual installation of the system will begin now:
Select Next.
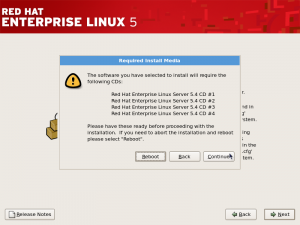
28. A message will pop out letting you know the number of CDs from RedHat needed by the installer:
Press Continue.
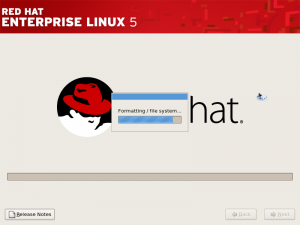
29. The installation process begins by formatting your file systems.
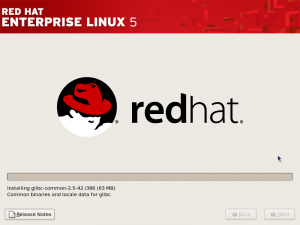
30. You will now see the installer copying packets to your system:
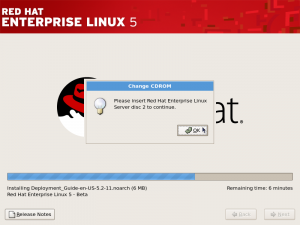
31. Insert CD number 2:
Press OK.
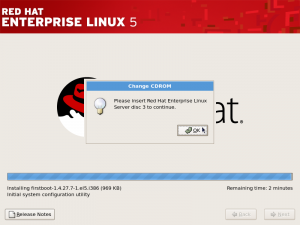
32. Insert CD number 3:
Press OK.
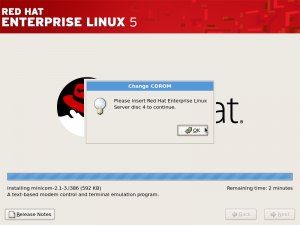
33. Insert CD number 4:
Press OK.
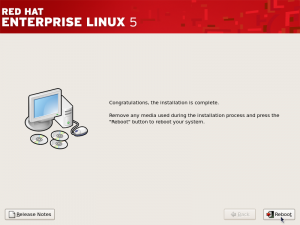
34. The installation process is now completed:
Press Reboot.
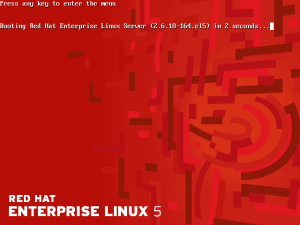
35. You will now see for the first time the GRUB (a bootloader):
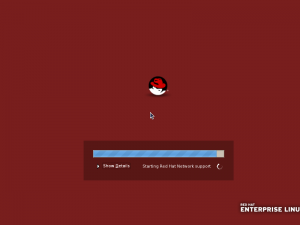
36. Your system will begin booting:
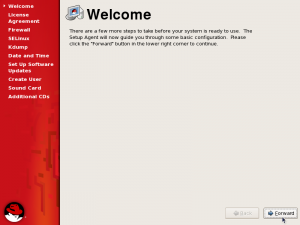
37. A Welcome screen from the initial configuration wizard comes up:
Select Forward.
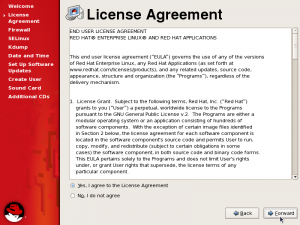
38. If you agree with the Licence, select Yes. Otherwise select No:
Press Forward.
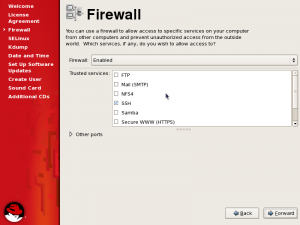
39. Select the firewall state and the allowed services:
Press Forward.
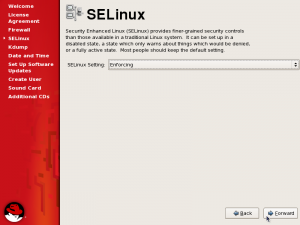
40. Security Enhanced Linux (SELinux) setting must be chosen:
Select Enforcing and then press Forward.
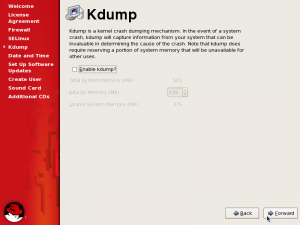
41. Enable/Disable Kernel Dump mechanism:
Press Forward.
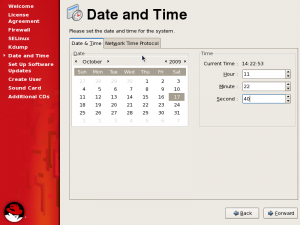
42. Set your date and time:
Move Forward.
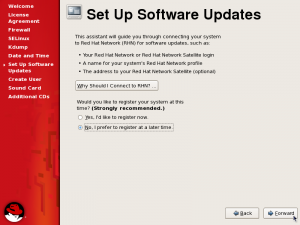
43. Software updates shall be set up (I chose to configure them later):
Press Forward.
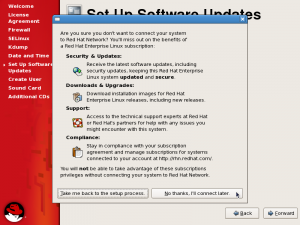
44. A pop-up forcing you to confirm your action will come up:
Just select No, thanks, I’ll connect later and move Forward.
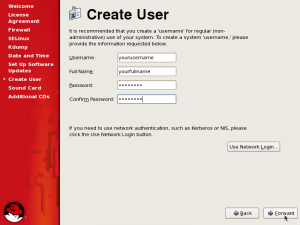
45. Create your first username:
Select Forward.
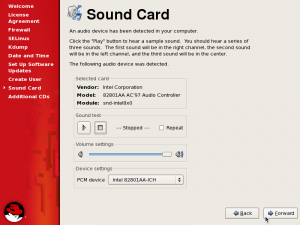
46. You may now configure your sound card:
Continue by pressing Forward.
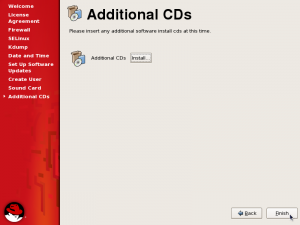
47. If you have any additional CDs insert them now and press install:
Otherwise press Finish.
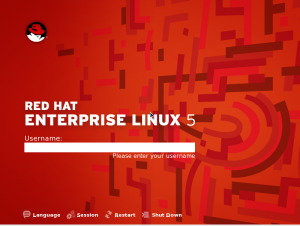
48. The login prompt comes up:
Type in your username and press Enter.
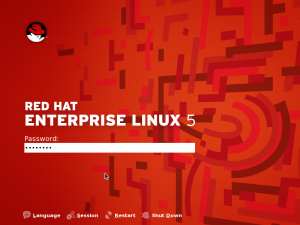
49. The system will now require your password:
Type in your password and press Enter.
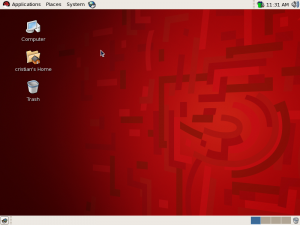
50. Congratulations! You may now take a first glance at your RedHat desktop!
Thank you for visiting our website. I hope you find useful information here.
